A . To enable telnet server
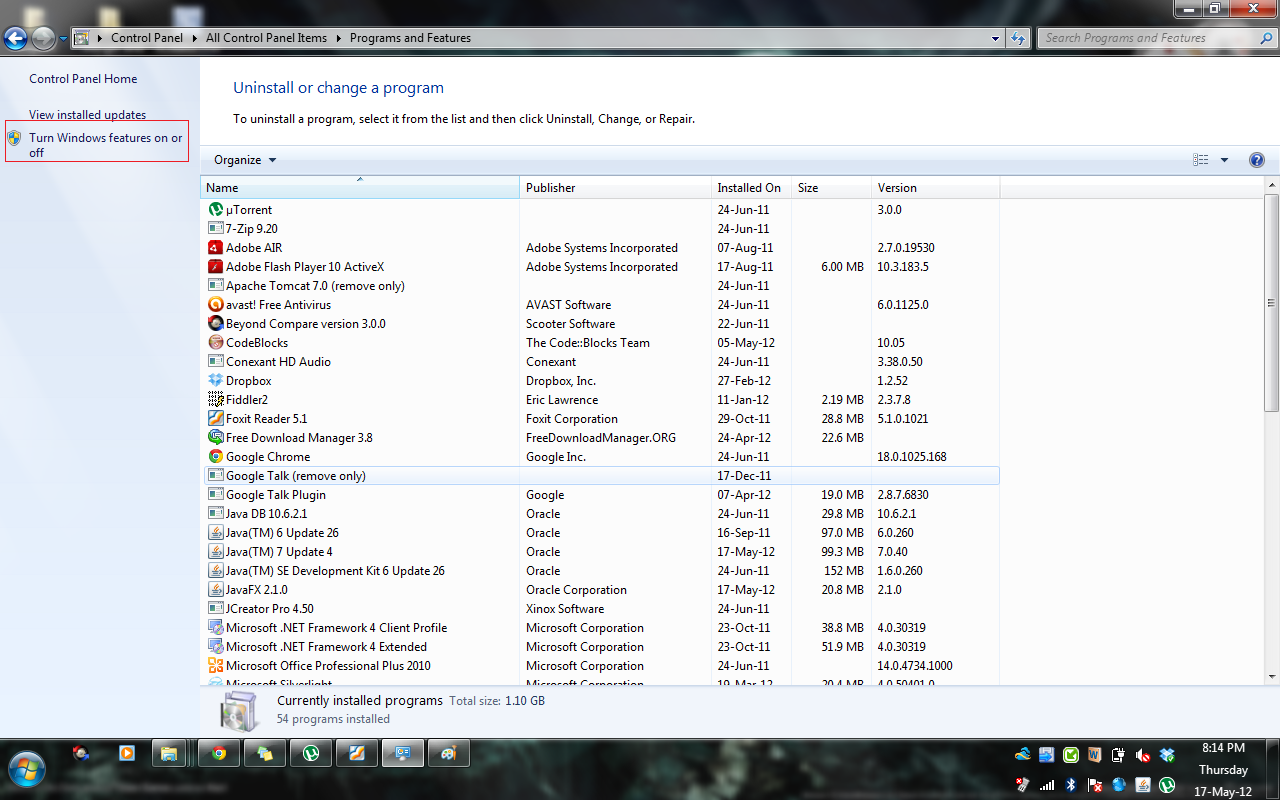
1. Control Panel >> Programs ans Features
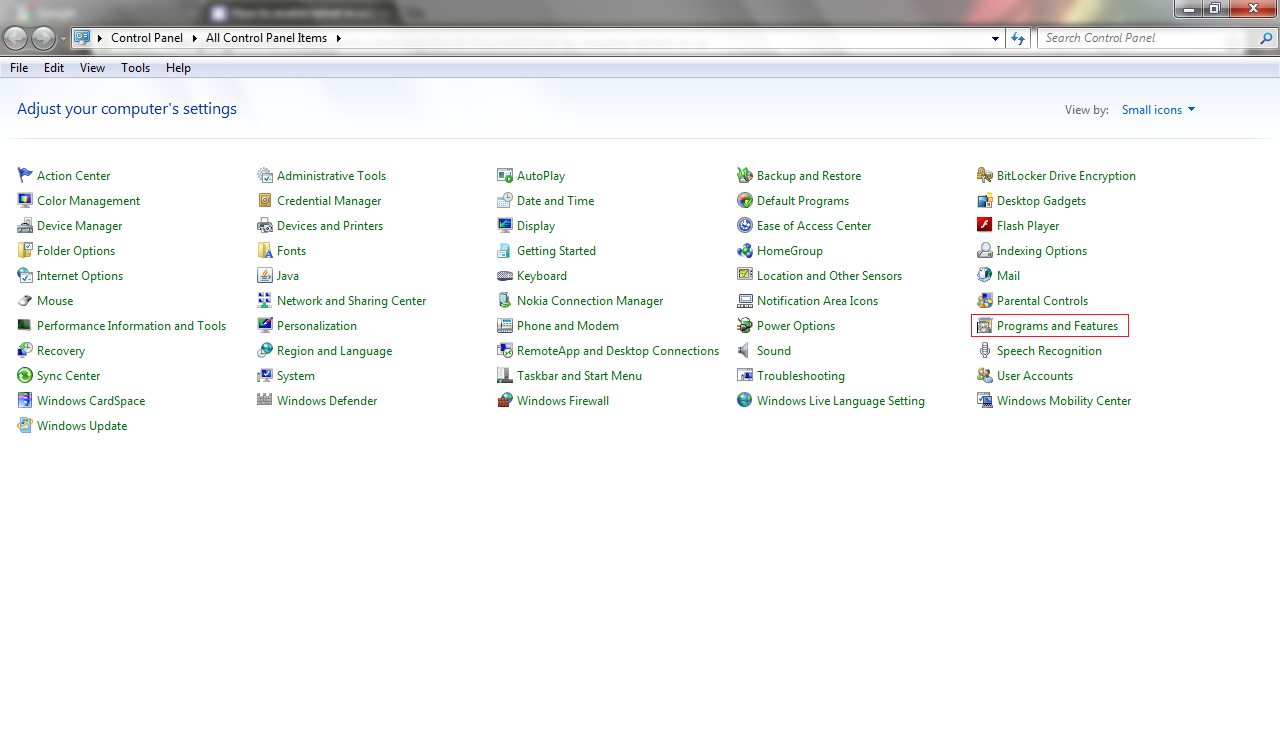
Control Panel >> Programs ans Features
2. Select Turn Windows Features on or off

Turn Windows Features on or off
3. Select Telnet Server
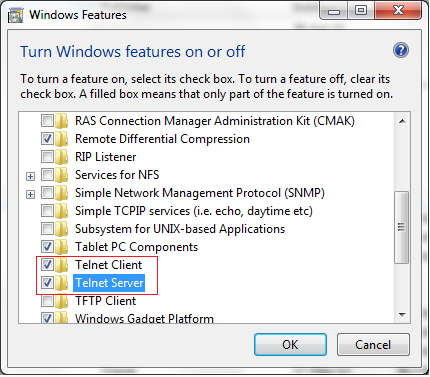
Select Telnet Server
4.

waiting…
5. Open Computer Management , services >> Telnet
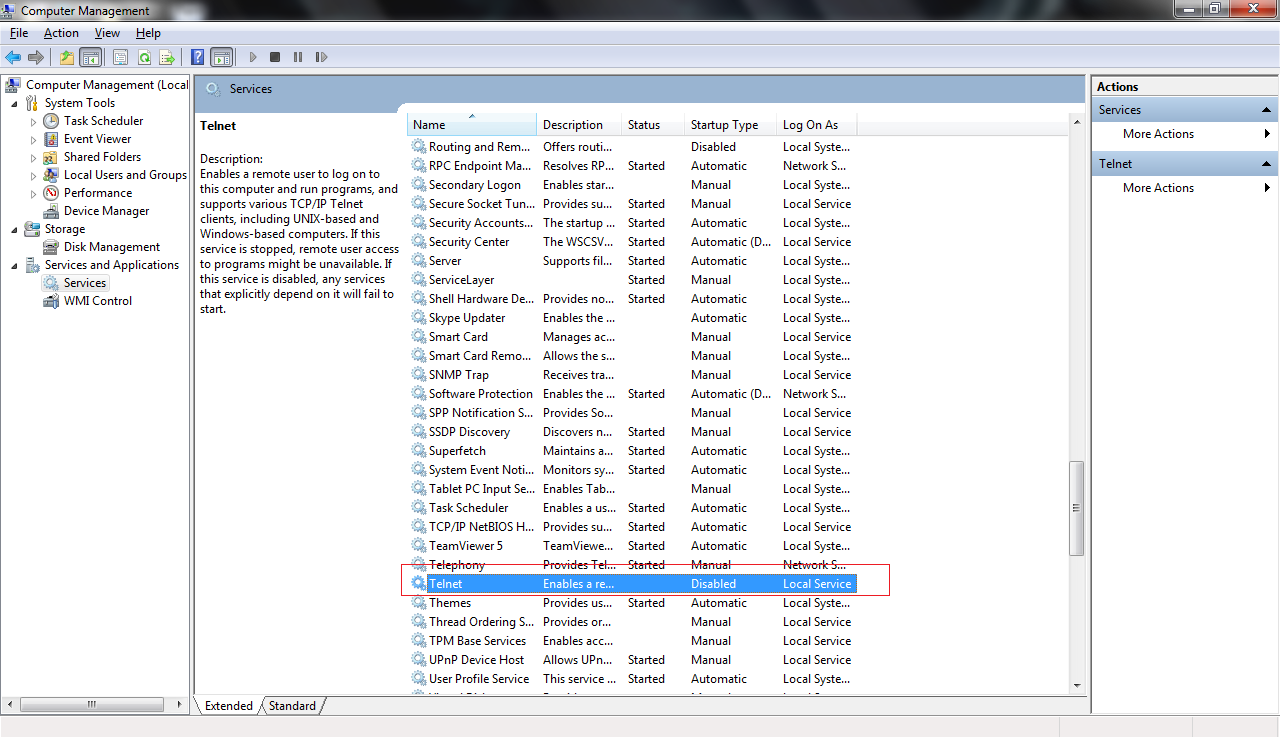
Computer Management , services >> Telnet
6. Telnet Properties change Startup type to manual or automatic
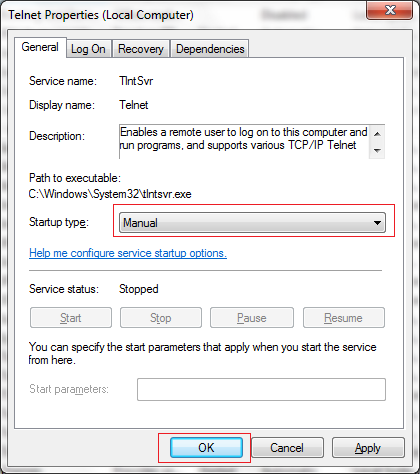
Telnet Properties
7. Select Telnet from services and start the service by clicking play button on the top
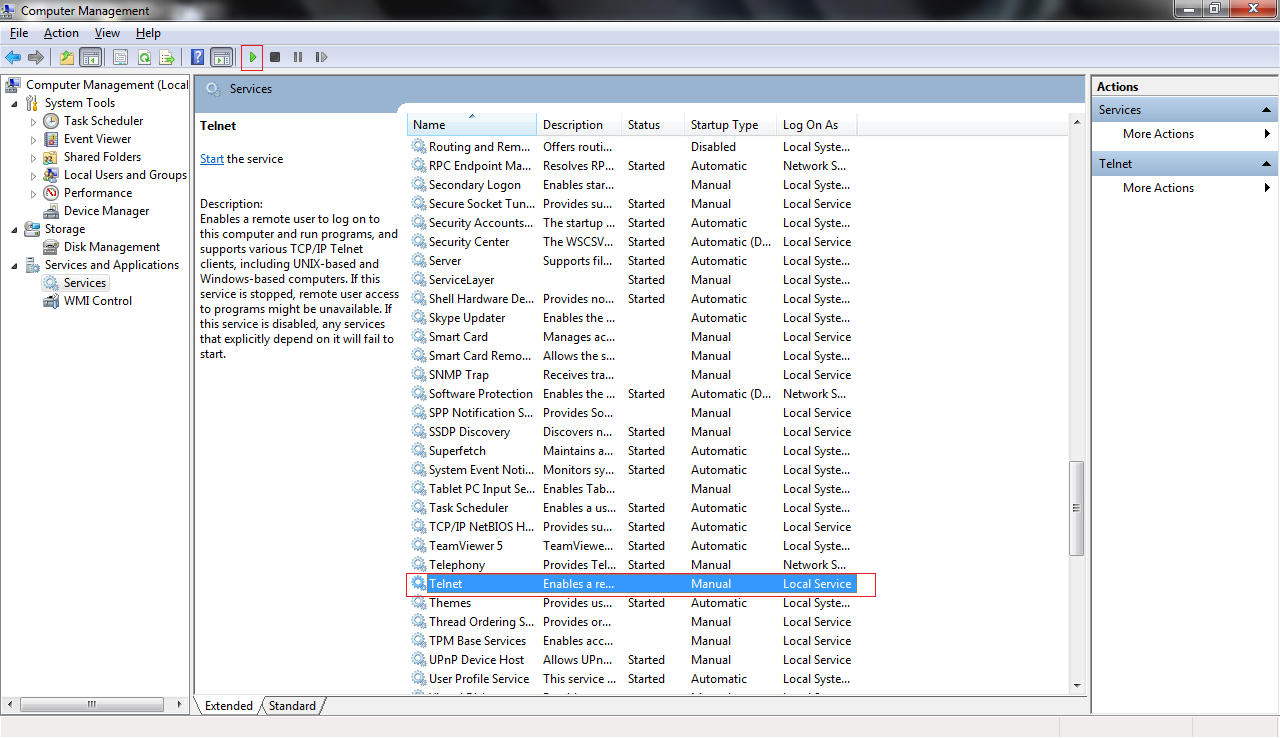
start the service
8. Select Groups from Local Users and Groups option and Open Telnet Properties
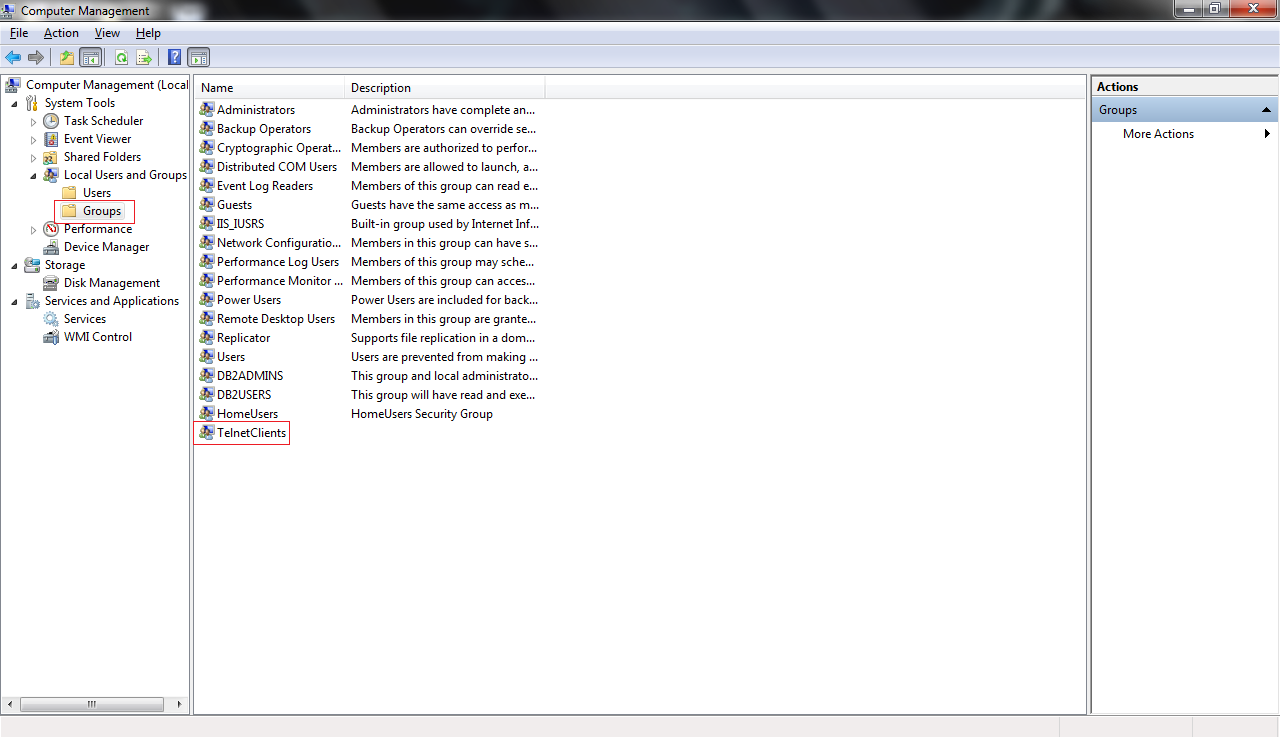
Local Users and Groups option
9. Click Add
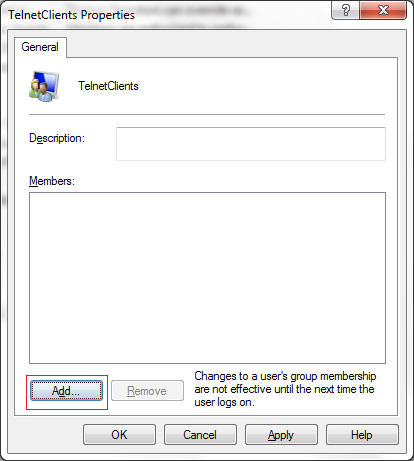
Telnet Client Properties
10. Click Advanced…
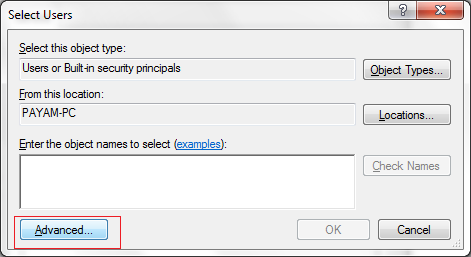
Advanced…
11.Click Find Now
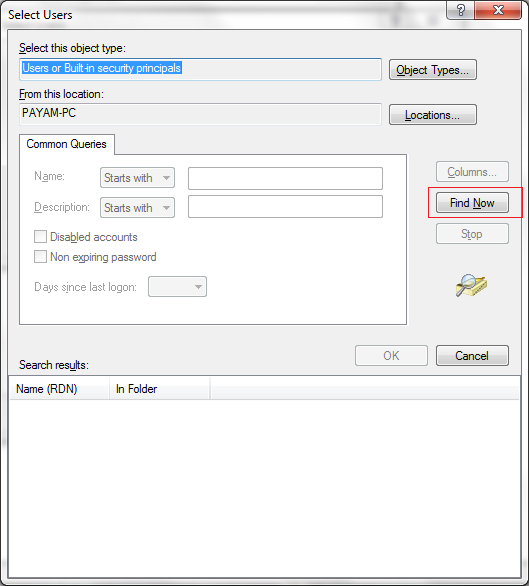
Find Now
12. Select Everyone
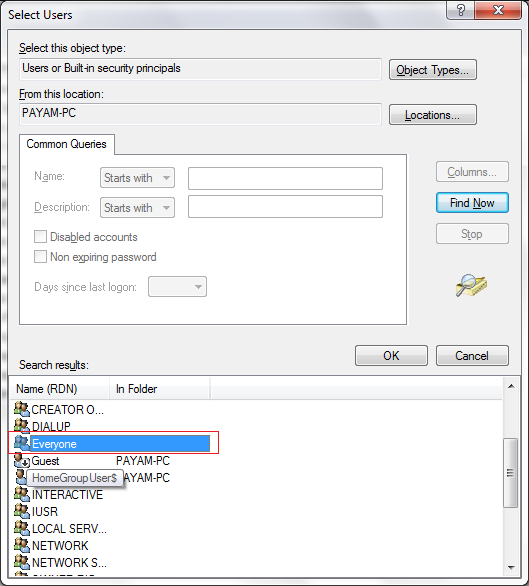
Select Everyone
13. Click OK
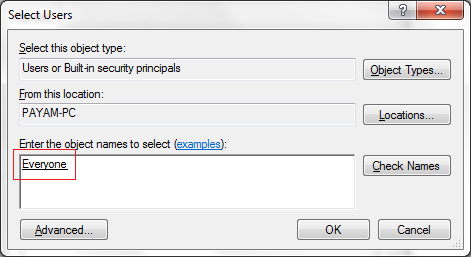
Click OK
B. To enable Telnet Client
1. Control Panel >> Program and Features

Control Panel >> Program and Features
2. Select Turn Windows Features on or off
Turn Windows Features on or off
3. Select Telnet Client and click OK
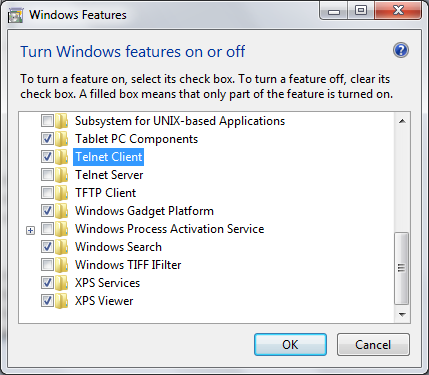
Telnet Client
4.
waiting…
5. Open command prompt and type “telnet [host ip address]” without quotes.